


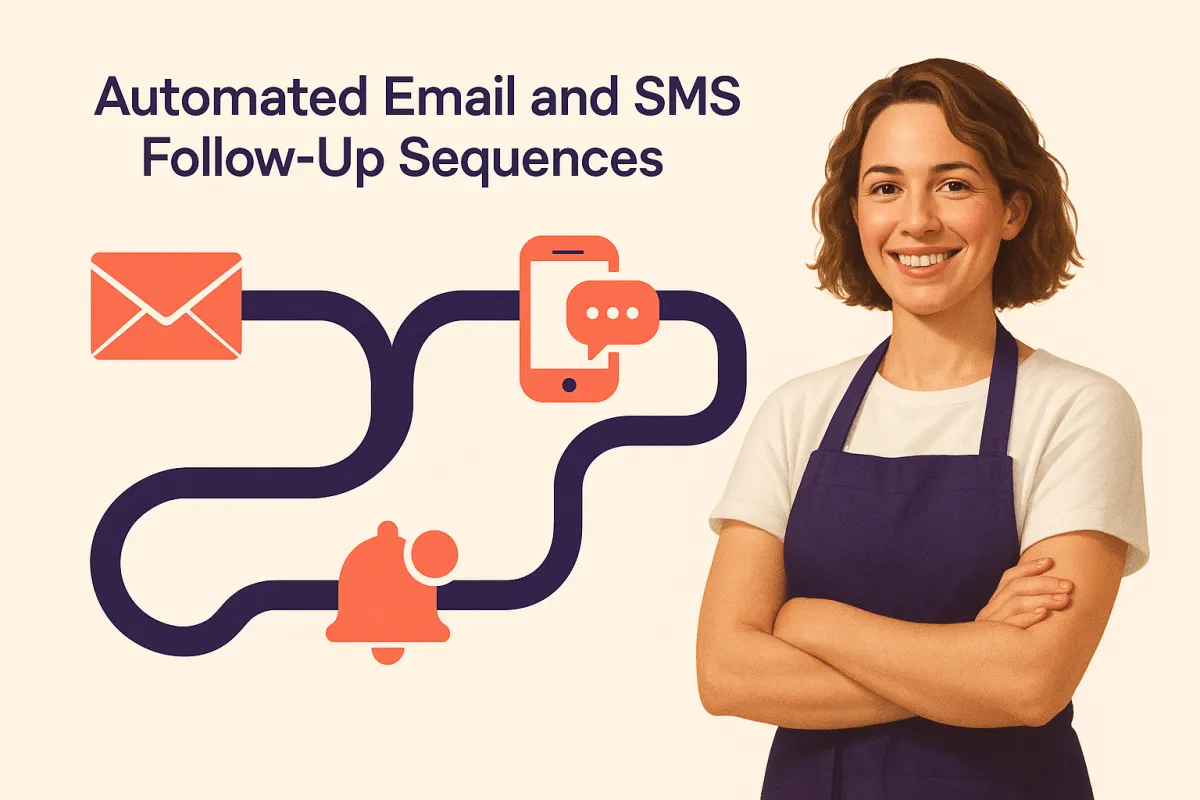
How to Put Your Follow-Ups on Autopilot with Amply360
How to Put Your Follow-Ups on Autopilot with Amply360
Did you know that 80% of sales require at least 5 follow-up touchpoints.
Yet, 44% of salespeople give up after just one? If you're manually chasing every lead, you're not just losing time. You're losing sales.
With Amply360's automated follow-up workflows, every lead gets a perfectly timed, personalised sequence of messages without you lifting a finger. Here's exactly how to set it up.
Time you'll get back: 2–4 hours per week
Why Manual Follow-Ups Are Costing You More Than Time
Think about how many leads have slipped through the cracks because life got busy. A follow-up got forgotten. An email never got sent. A hot prospect went cold because the timing was off.
Automated follow-up sequences eliminate this entirely. Every new lead enters a system that nurtures them automatically with the right message, at the right time, through the right channel.
Step-by-Step: Setting Up Automated Follow-Ups in Amply360
Step 1: Navigate to Workflows
From your Amply360 dashboard, click on Automation → Workflows in the left sidebar. Click "Create New Workflow" and choose to start from scratch or use one of Amply360's pre-built follow-up templates — a great starting point if you're new to automation.
Step 2: Set Your Trigger
Every workflow starts with a trigger — the action that kicks off your follow-up sequence. Common triggers include:
New lead form submission — Someone fills out a form on your website or landing page
New contact created — A lead is added to your CRM
Missed call — A prospect called but you couldn't answer
Appointment not booked — A lead visited your booking page but didn't complete
Pipeline stage change — A contact moves to a new stage in your sales pipeline
Step 3: Build Your Follow-Up Sequence
Add actions to your workflow by clicking the "+" button. For a strong follow-up sequence, consider:
Immediate SMS — Send a text within minutes of the trigger
Wait 1 hour → Send Email — A detailed introduction email with your value proposition
Wait 1 day → Send SMS — A friendly check-in
Wait 3 days → Send Email — Share a case study or testimonial
Wait 5 days → Send SMS — A final nudge with a clear call to action
Amply360 lets you mix email, SMS, voicemail drops, and even task reminders for your team — all in one sequence.
Step 4: Personalise Every Message
Use Amply360's custom values and merge fields to personalise every message automatically. Insert the contact's first name, the service they enquired about, or even the date they reached out, making each message feel hand-written, not automated.
Step 5: Set Conditional Logic (If/Then Branches)
Use Amply360's If/Then conditions to personalise the journey based on actions:
If the lead books an appointment → Then stop the sequence and send a confirmation
If the lead replies → Then notify your team to take over
If the lead doesn't open any emails → Then switch to SMS only
This ensures leads receive relevant follow-ups — not repetitive ones, which dramatically improves your conversion rate.
Step 6: Activate and Monitor
Once your workflow is built, toggle it to Published. Monitor performance from the Workflow Analytics dashboard — track open rates, reply rates, and bookings generated so you can continually improve.
The Result: No Lead Left Behind
Once this is set up, every single lead — no matter how busy you are — receives a consistent, professional, personalised follow-up experience. Your conversion rate goes up. Your stress levels go down.
Ready to Set This Up?
Our team can build your entire follow-up workflow in Amply360 — customised to your business, your leads, and your voice.
📞 Book a free strategy call with Amply360 and we'll set it all up for you.
This is one of 5 ways AI can free up 10+ hours a week for small business owners. Read the full guide here →
Frequently Asked Questions
Q: What is automated follow-up for small businesses?
A system that sends personalised emails, SMS and reminders to leads automatically at timed intervals, ensuring every lead is nurtured consistently until they convert.
Q: How many follow-up messages should I send to a lead?
Research suggests 5 to 8 touchpoints. Amply360's automated sequences deliver all of these at perfectly timed intervals without any manual effort.
Q: Will automated messages feel impersonal?
No. Personalisation fields (first name, service enquired about, date of enquiry) make each message feel hand-written and timely.
Q: What triggers a follow-up sequence in Amply360?
It could be anything from new form submissions, new contacts, missed calls, incomplete bookings and pipeline stage changes and you choose the trigger that matches your lead source.
Q: Can I stop the sequence once a lead converts?
Yes. If/Then logic automatically stops the sequence when a lead books, purchases or replies.
Q: Can I mix email and SMS in one sequence?
Yes. Amply360 workflows combine email, SMS and voicemail drops in a single sequence.
Q: How much time does this save per week?
2 to 4 hours per week while following up with more leads, more consistently, than manual effort ever could.