


How to Eliminate the Scheduling Back-and-Forth with AI Booking Tools in Amply360
How to Eliminate the Scheduling Back-and-Forth with AI Booking Tools in Amply360
"Does Tuesday work?" "Actually, can we do Wednesday?" "What time zone are you in?" Sound familiar?
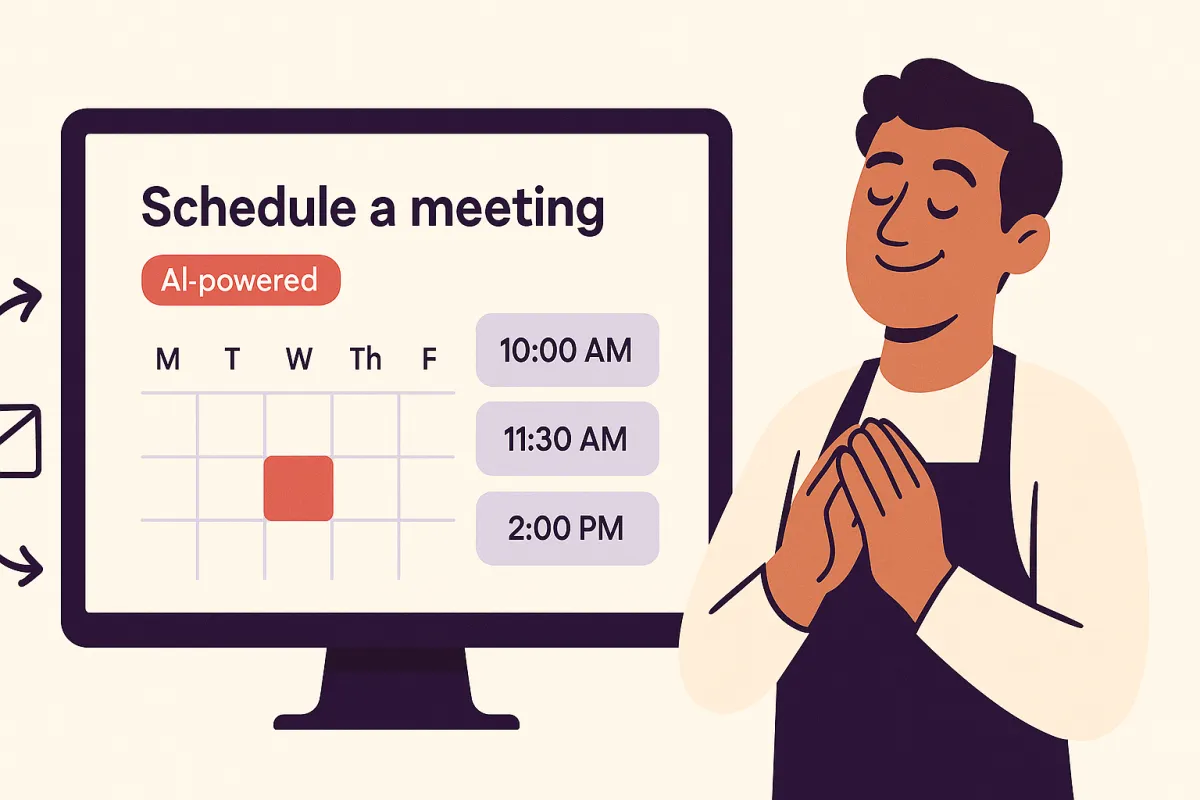
Scheduling is one of the most frustrating time wasters in business and it's 100% solvable. With Amply360's AI-powered calendar and booking tools, clients and prospects can book directly into your schedule in seconds. No emails. No back-and-forth. No headaches.
Time you'll get back: 1–2 hours per week
Why Scheduling Manually Is Costing You More Than You Think
It's not just the time spent on each individual booking. It's the mental load. Checking your calendar, cross-referencing availability, sending links, waiting for replies, dealing with reschedules... it all adds up. And every interruption breaks your flow.
AI scheduling eliminates all of that. Your calendar becomes a self-service system that works for you around the clock.
Step-by-Step: Setting Up AI Scheduling in Amply360
Step 1: Access the Calendar Settings
From your Amply360 dashboard, go to Calendars in the left-hand menu. Click "Create New Calendar" to get started. Name it based on your appointment type (e.g., "Free Discovery Call," "Strategy Session," "Initial Consultation").
Step 2: Set Your Availability
Define exactly when you're available to take bookings:
Choose your available days (e.g., Monday–Friday)
Set your working hours (e.g., 9am–5pm)
Add buffer time between appointments (e.g., 15 minutes to avoid back-to-back calls)
Block off any recurring unavailable times
Amply360 syncs with your Google Calendar or Outlook in real time — so personal events automatically block that slot from being booked.
Step 3: Configure Your Appointment Type
Set up the details of the appointment itself:
Duration — 15, 30, 45, or 60 minutes (or custom)
Meeting type — Zoom, Google Meet, phone call, or in-person
Intake form — Ask qualifying questions before confirmation so you arrive prepared
Confirmation message — A personalised thank-you shown after booking
Step 4: Automate Your Reminders
No-shows are a thing of the past with Amply360's automated reminder sequences. Set up:
Email confirmation — Sent immediately upon booking
SMS reminder — 24 hours before the appointment
SMS reminder — 1 hour before the appointment
Follow-up message — Sent after the appointment with next steps
All of these go out automatically — you don't have to remember to send a single one.
Step 5: Share Your Booking Link
Amply360 generates a clean, professional booking page with a unique link. Share it everywhere:
In your email signature
On your website (as a button or embedded calendar)
In your social media bio
At the end of your follow-up messages and emails
In your Amply360 AI chatbot responses
Step 6: Embed on Your Website
For maximum convenience, embed your booking calendar directly on your website. Amply360 provides a simple embed code you can add to any page — your "Work With Me" page, your homepage, or a dedicated booking page. Visitors can book without ever leaving your website.
What This Looks Like in Practice
A prospect sees your social media post on a Monday evening. They click your booking link. They choose a time that works for them — Tuesday at 10am. They fill in a quick intake form. They receive an instant confirmation email and an SMS reminder the night before. You wake up Tuesday morning with a qualified, prepared prospect already in your calendar. Zero effort from you. Zero back-and-forth.
Ready to Never Send a "Does This Time Work?" Email Again?
We'll set up your entire Amply360 booking system — customised to your business and fully automated from confirmation to follow-up.
📞 Book a free strategy call with Amply360 — ironically, you can book it without any back-and-forth. 😊
This is one of 5 ways AI can free up 10+ hours a week for small business owners. Read the full guide here →
Frequently Asked Questions
Q: What is AI scheduling for small businesses?
An automated booking system that displays your real-time availability, lets clients self-book and sends automated reminders — eliminating scheduling emails entirely.
Q: How does Amply360 reduce no-shows?
Automatic confirmation email on booking, SMS reminder 24 hours before, and another SMS 1 hour before — all sent without any manual effort.
Q: Can clients reschedule themselves?
Yes. Clients reschedule or cancel using the link in their confirmation email, no back-and-forth needed.
Q: Does Amply360 integrate with Google Calendar?
Yes. It syncs in real time — personal events automatically block those slots from being bookable.
Q: Can I ask qualifying questions before confirming a booking?
Yes. Amply360's intake forms let you ask qualifying questions clients must answer before confirming, so you arrive at every call fully prepared.
Q: How much time does this save per week?
1 to 2 hours per week from eliminated scheduling emails, plus more time saved from reduced no-shows.
Q: Does AI scheduling work for service-based businesses?
Yes. It's ideal for coaches, consultants, therapists, agencies and any business that books appointments with clients.